

Key Takeaways
Why Basement Finishing Is More Complex Than It Looks
A finished basement can add meaningful livable square footage to a home - a home office, a guest suite, a family room. But the path from bare concrete to comfortable living space runs through nearly every trade: framing, electrical, plumbing, HVAC, waterproofing, and finish carpentry. That scope is what catches many homeowners off guard.
Unlike renovating a room that already has walls and a ceiling, a basement starts as a raw shell. Every system has to be introduced from scratch or significantly extended. Understanding what the project actually involves - before you start pulling bids or swinging a hammer - is the single most useful thing you can do to stay on schedule and on budget. Our guide to what to expect from a renovation covers the broader planning process if you're new to projects of this scale.
Permits, Codes, and Inspections
Basement finishing almost universally triggers permit requirements. Most jurisdictions classify it as a habitable-space conversion, which means your local building department will want to review plans and conduct inspections at key stages - typically after rough-in electrical and framing, and again at final completion.
Skipping permits isn't just a paperwork problem. Unpermitted finished space can complicate a home sale, void your homeowner's insurance coverage for that area, and require costly tear-out if a future inspector flags it. For a full breakdown of what permits cover and when they apply, see our article on what a building permit actually covers.
Check Local Permits Before Starting Any Work
Always contact your local building department before beginning any work. Code requirements vary significantly by municipality - what's acceptable in one county may require a licensed contractor or additional structural review in another. Unpermitted finished basement space can create serious complications when you sell your home or file an insurance claim.
Always contact your local building department before beginning any work. Code requirements vary significantly by municipality - what's acceptable in one county may require a licensed contractor or additional structural review in another.
Moisture Control: The Foundation of the Whole Project
No finishing material - drywall, flooring, insulation - belongs in a basement that has unresolved moisture issues. Water intrusion can come from two directions: liquid water penetrating through foundation cracks or the floor-wall joint, and vapor diffusing through concrete walls and slabs (concrete is porous and allows moisture to migrate even when visibly dry).
Before framing begins, assess the space honestly. Look for efflorescence (the white mineral deposits that form when water moves through concrete), staining at the base of walls, musty odor, or visible cracks. A simple plastic-sheet tape test - taping a 12-inch square of plastic film to the floor and wall for 24 to 48 hours - can reveal whether moisture is moving through the slab or coming from interior humidity.
Remediation options range from interior drain tile systems (a perimeter channel at the footing that directs water to a sump pump) to exterior waterproofing membranes, crack injection, and improved grading or gutter management outside. Which solution is appropriate depends on the source and severity of the problem. A waterproofing contractor or structural engineer can help you diagnose correctly - don't guess here.
Before signing any waterproofing contract, ask the contractor to show you exactly where the water is entering - not just what system they recommend. A reputable pro will point to evidence, not just pitch a solution.
Diagnosing the source of moisture correctly is far more important than the remediation product used. Misdiagnosis leads to expensive systems that don't solve the actual problem.
Schedule your framing inspection before the insulation goes in - inspectors need to see the stud bays and any blocking before they're covered. Reversing this order means tearing out work.
Inspection sequencing is one of the most common scheduling mistakes in basement projects. Understanding the required inspection checkpoints upfront keeps the project moving without costly rework.
Egress Windows and Fire Safety
If any room in your finished basement will be used as a sleeping area - even occasionally - most building codes require an egress window: an opening large enough for a person to escape through in an emergency. The International Residential Code (IRC), which most U.S. jurisdictions adopt in some form, specifies minimum dimensions: typically at least 5.7 square feet of net clear opening, a minimum width of 20 inches, and a minimum height of 24 inches, with the sill no more than 44 inches from the finished floor.
Installing an egress window in a basement wall involves cutting through the foundation - concrete block or poured concrete - excavating a window well outside, and waterproofing the opening. This is specialized work that usually requires permits and, in many cases, a licensed contractor. The cost is meaningful but not optional if the space will be used for sleeping.
Beyond egress, basement finishing also triggers smoke detector and carbon monoxide detector placement requirements. Your inspector will check for these.
Framing, Insulation, and Mechanical Systems
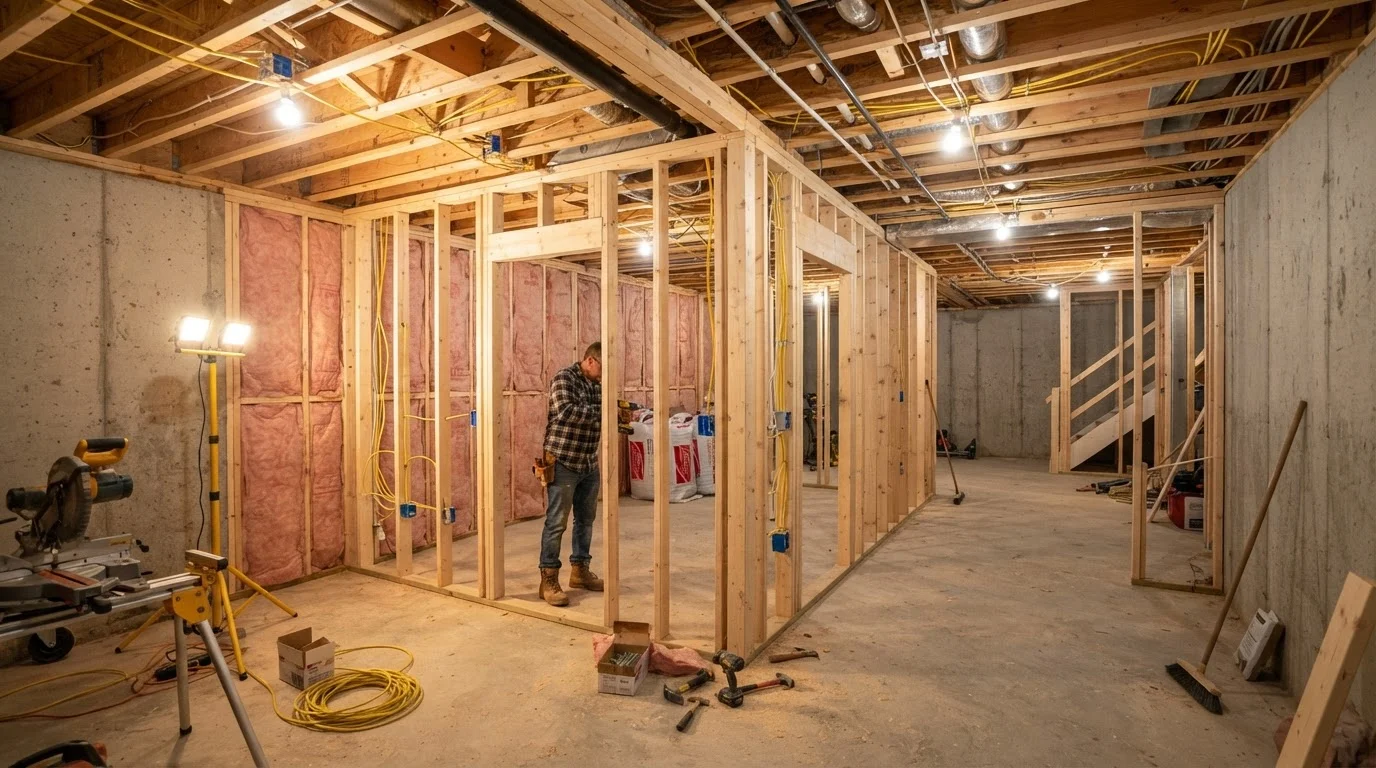
Once moisture is addressed, framing creates the wall and ceiling structure. In basements, framing is almost always done with wood or steel studs set slightly away from the foundation wall - typically with a small gap or a layer of rigid foam board - to prevent the studs from wicking moisture directly from concrete.
Insulation in basements behaves differently than above-grade walls. The goal is to manage both thermal performance and vapor movement. Closed-cell spray foam applied directly to the foundation wall is highly effective because it acts as both insulation and vapor barrier simultaneously. Rigid foam board (extruded polystyrene or polyisocyanurate) is another common choice for basement walls. Fiberglass batts alone against a concrete wall are generally not recommended - they can trap moisture and foster mold growth. If you encounter unfamiliar terminology, our plain-English renovation glossary explains terms like R-value and vapor barrier in accessible language.
Electrical, plumbing, and HVAC work must be roughed in before walls are closed. Extending HVAC ductwork or adding a mini-split system, running new circuits from the panel, and adding a bathroom (if planned) each represent significant sub-projects with their own permit and inspection requirements. Licensed electricians and plumbers are required for this work in most states.
Never Frame Over an Unresolved Moisture Problem
Enclosing a wet or damp foundation wall with framing and insulation creates ideal conditions for mold growth - a problem that may not become visible until it's extensive and expensive to remediate. If you have any doubt about moisture, pause the project and get a professional assessment before proceeding. Mold remediation in a finished basement is significantly more costly than addressing moisture before walls are closed.
Finishing Surfaces and Managing Hidden Costs
With rough-ins inspected and approved, the finish phase begins: hanging and taping drywall, installing flooring, painting, and trimming out windows and doors. Basement flooring choices should account for the environment - engineered hardwood, luxury vinyl plank, and epoxy-coated concrete handle moisture far better than solid hardwood or standard laminate. For painting guidance that applies to basement walls once they're drywalled, see our article on preparing interior walls for painting.
Budget surprises in basement projects commonly include: electrical panel upgrades when the existing panel has no capacity, unexpected plumbing rerouting when drain lines run through the slab, debris hauling and disposal fees, and the cost of waterproofing work that wasn't anticipated at the outset. Our article on hidden renovation costs goes deeper on the expenses that consistently catch homeowners unprepared.
Once the basement is finished, it also becomes part of your ongoing maintenance routine. Water heater access, sump pump checks, and humidity monitoring become regular responsibilities - habits covered in our guide to upkeep tasks homeowners overlook.
A well-planned basement finishing project adds genuine value and utility to a home. Getting there requires methodical sequencing, respect for code requirements, and a realistic accounting of the full scope - not just the drywall and flooring that show up in the finished photos.