
Painting Interior Walls: The Preparation Steps That Actually Determine the Outcome

Key Takeaways
Why Prep Work Determines the Finish
Most homeowners focus on picking the perfect color or splurging on premium paint - then wonder why the result still looks uneven or starts peeling within a year. The truth is straightforward: paint is only as good as the surface underneath it. Preparation accounts for roughly 80% of the outcome, and skipping even one step can undermine everything that comes after.
This is especially relevant if you're painting as part of a broader project. Whether you're freshening up rooms after a remodel or tackling a first-time renovation, walls that aren't properly prepped will show every flaw once the paint dries.
Clean walls thoroughly before any other step
Paint won't bond properly to surfaces coated with grease, dust, or residue. Adhesion failure - the primary cause of peeling - almost always traces back to inadequate cleaning. Even walls that look clean often carry invisible oils from hand contact near switch plates and door frames.
Repair all holes, cracks, and surface damage before priming
Paint does not fill imperfections - it highlights them. Even shallow nail holes catch light at certain angles and become visible through multiple coats if left unaddressed. Addressing damage before priming ensures the repairs integrate seamlessly into the finished surface.
Prime bare patches and high-porosity surfaces before painting
Raw drywall, fresh patches, and bare wood absorb paint unevenly, causing visible dull spots called flashing. Primer seals porous surfaces and creates a uniform base so the topcoat applies consistently and color reads true throughout the room.
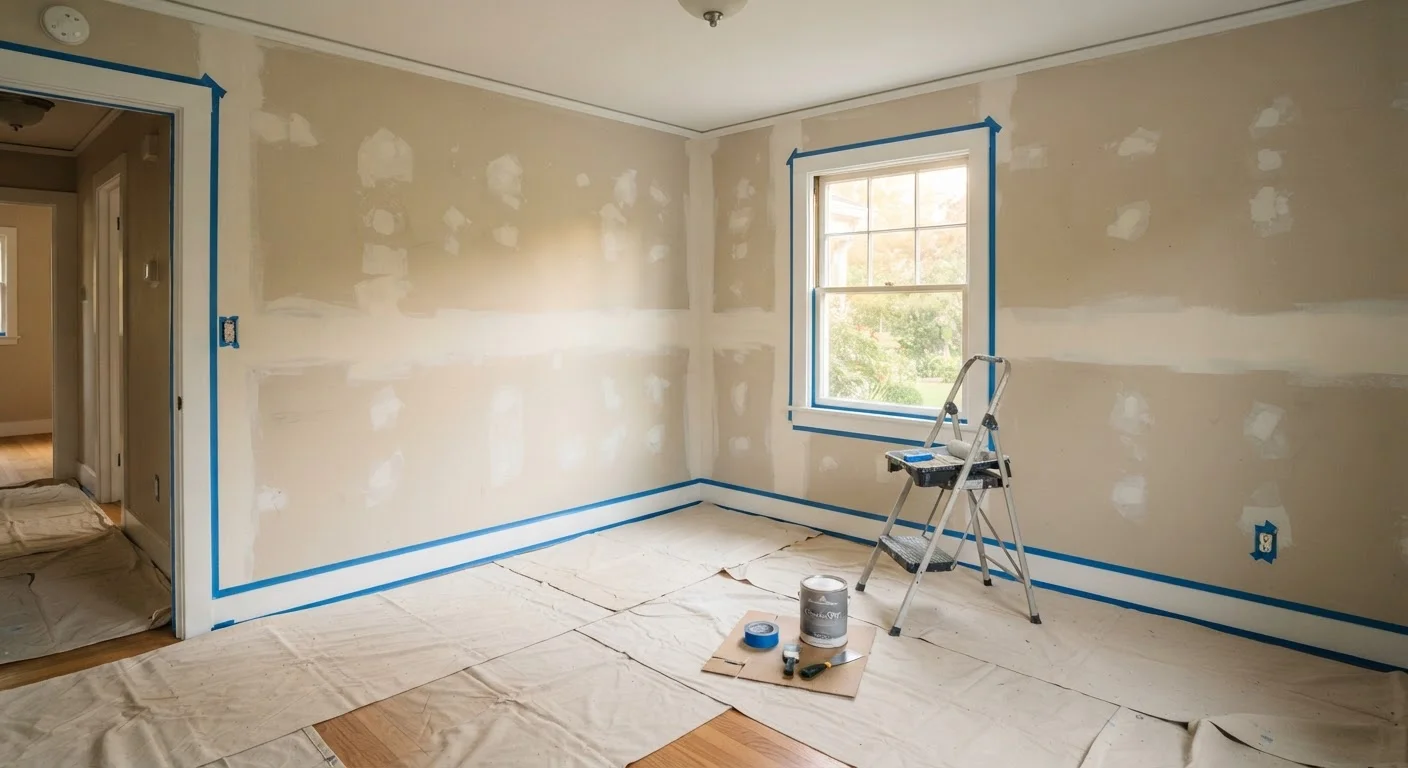
Protect trim, outlets, and adjacent surfaces with painter's tape and drop cloths
Taking 20 minutes to properly mask trim and cover floors saves hours of cleanup and touch-up work. Paint drips and roller splatter are nearly impossible to avoid entirely, and dried paint on wood trim or flooring can damage the finish when removed.
Sand between coats for a smooth, professional result
Each coat of paint raises the grain slightly and can trap small dust particles or lint. A light sand between coats levels these imperfections and improves adhesion for the next coat. Skipping this step often results in a texture that looks fine up close but catches light unevenly on larger walls.
Allow adequate drying time at every stage
Paint cures on a timeline that varies with humidity, temperature, and ventilation - not just how dry it feels to the touch. Applying a second coat too soon traps moisture underneath, which can cause bubbling, peeling, or a finish that never fully hardens.
Step-by-Step Preparation Best Practices
Work through these steps in order. Jumping ahead or combining steps often creates problems that are difficult - and expensive - to fix after the paint goes on.
Common Mistakes That Prep Prevents
Even experienced DIYers fall into familiar traps. Painting over dirty walls causes adhesion failure - grease, dust, and residue act as a barrier between the paint and the wall. Skipping primer on patched spots creates flashing (visible dull patches where bare drywall absorbs paint differently from the surrounding surface). Rushing between coats before surfaces are fully dry leads to lifting, wrinkling, or tacky finishes that never fully cure.
If you're painting a kitchen or bathroom, surface prep becomes even more critical because moisture and grease make adhesion harder. Similarly, if a larger renovation is happening nearby - such as a kitchen remodel - make sure construction dust has fully settled and been cleaned before you start painting adjacent spaces.
This article is for general informational purposes. Always follow paint and product manufacturer instructions, and consult a professional for large-scale or hazardous surface conditions such as lead paint in older homes.