

Key Takeaways
Why Mulching Is Worth the Effort
Mulch does more work per hour of effort than almost any other garden task. A properly mulched bed retains significantly more soil moisture than bare ground, meaning you water less frequently without sacrificing plant health. That moisture conservation pairs well with deliberate watering habits - see our guide to smarter, less frequent lawn watering for how to make every drop count.
Beyond water, mulch moderates soil temperature - keeping roots cooler in summer heat and insulating them during fall and winter cold snaps. It suppresses weed germination by blocking sunlight from reaching weed seeds just below the soil surface. And as organic mulch breaks down, it feeds soil biology, improving structure and drainage over time. This is part of what makes mulching a cornerstone of year-round garden care, as outlined in the complete homeowner's lawn and garden guide.
It's worth noting that mulch is not a weed eliminator - it's a weed suppressor. Persistent weeds that are already rooted in the soil will push through any layer. Getting the bed clean before mulching is what makes the difference. Many gardeners assume more mulch solves more problems, but that belief - like several others covered in our look at common lawn and garden myths - can actually backfire.
What You'll Need Before You Start
Successful mulching doesn't require specialized equipment, but having the right tools on hand keeps the job efficient and avoids shortcuts that lead to uneven coverage.
What you will need
Wheelbarrow or garden cart
Moves bulk mulch from a delivery pile or bags to garden beds efficiently.
Garden rake
Spreads mulch evenly and levels the surface across the bed.
Edging spade
Cuts a clean border between lawn and mulched beds to keep material contained.
Garden gloves
Protects hands when handling bulk mulch, which can harbor splinters or irritants.
Measuring tape or ruler
Checks that mulch depth stays within the recommended two-to-three-inch range.
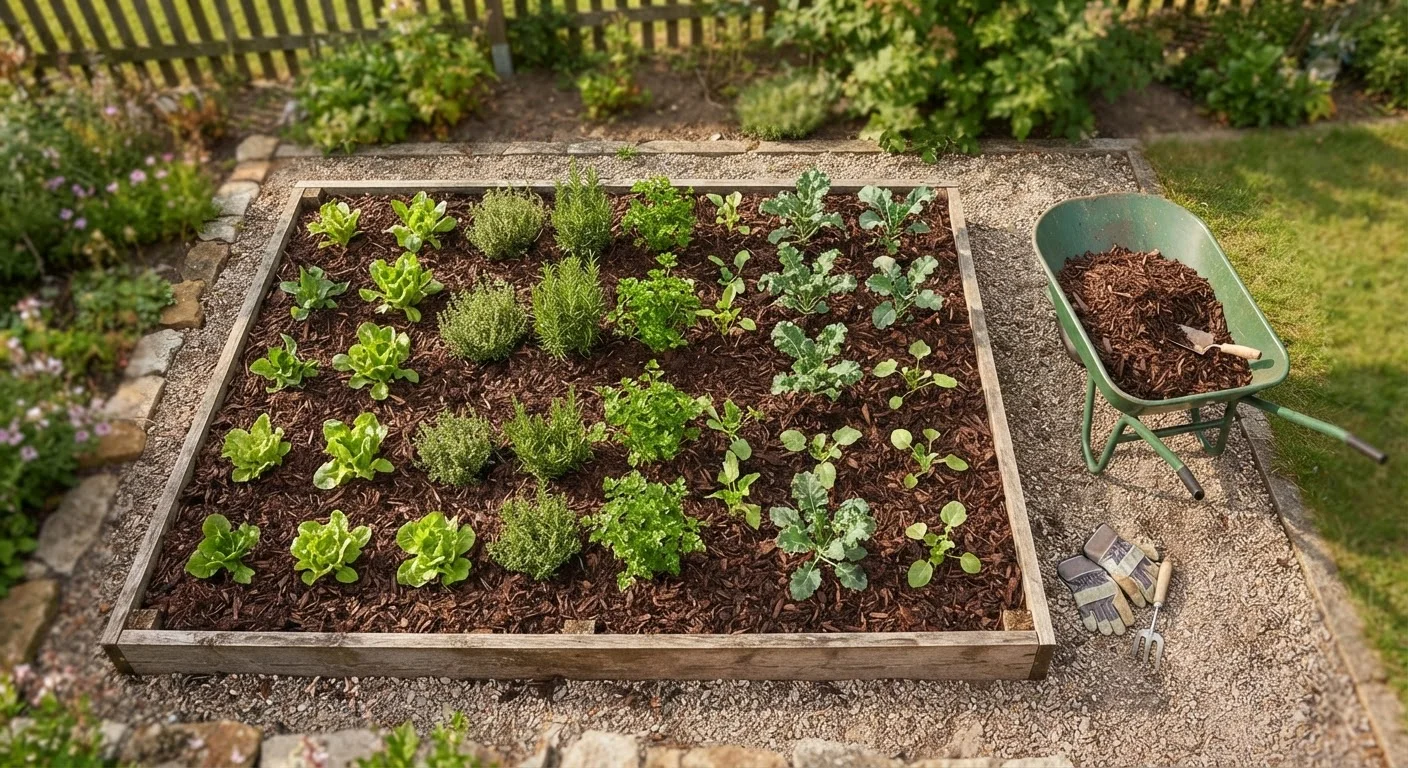
If you're mulching a vegetable bed, consider how mulch fits into your broader planting strategy. Raised beds, for instance, may call for different material choices than in-ground rows. Our comparison of raised beds versus in-ground planting can help you think through those trade-offs. If you practice companion planting, note that straw mulch works well between densely planted vegetable rows without crowding root zones.
Step-by-Step: How to Mulch a Garden Bed
Pull all weeds from the bed
Before spreading any mulch, remove every weed you can see - roots and all. Mulch slows new weed germination but will not kill established weeds already in the soil. Getting them out first gives your mulch the best chance of keeping the bed clean for the season.
Water the soil before you mulch
Give the bed a thorough soak the day before or the morning of mulching. Mulch acts as an insulating blanket, and if dry soil is locked under it, that moisture deficit is difficult to correct later. Starting with damp soil means plants have a water reserve as the mulch settles in. See our guide to smarter garden watering for tips on watering deeply without overdoing it.
Choose the right mulch type for your plants
Organic mulches - shredded bark, wood chips, straw, shredded leaves, or compost - break down over time and enrich soil structure. They suit most garden beds, vegetable plots, and foundation plantings. Inorganic options like gravel or crushed rock are long-lasting and work well in pathways or xeriscape designs, but they contribute nothing to soil health.
- Wood chips or shredded bark: Ideal around trees, shrubs, and perennial beds. Break down slowly.
- Straw: A good choice for vegetable gardens. Lightweight and easy to move at season's end.
- Shredded leaves: An excellent free resource - run fallen leaves through a mower before applying.
- Compost: Rich in nutrients; best used as a thin two-inch layer under a coarser mulch above.
Apply mulch at the correct depth
Spread mulch to a depth of two to three inches across the bed. This range is the practical sweet spot: enough to block light from reaching weed seeds and hold soil moisture, but not so thick that water can't penetrate to roots or that the soil becomes oxygen-deprived.
Use your rake to level the surface evenly. Avoid creating high spots near plant crowns or low spots at the bed's edges where runoff can carry mulch away.
Keep mulch away from stems and trunks
Pull mulch back so there is a clear gap of at least two to three inches around each plant stem, and six inches or more around tree trunks. Mulch piled against bark traps moisture and creates conditions favorable to fungal rot and burrowing insects. The iconic "mulch volcano" - a pile mounded high against a tree trunk - is one of the most common and damaging mistakes homeowners make.
Refresh mulch as it breaks down
Organic mulch decomposes over a growing season - that decomposition feeds your soil, but it also means depth gradually shrinks. Check beds in mid-season and add a light top-dressing if depth has dropped below one inch. A full refresh each spring or fall keeps coverage effective. Rake existing mulch before adding new material to loosen any compacted layer and restore air flow.
Avoid the "Mulch Volcano" Trap
Piling mulch high against tree trunks is one of the most widespread lawn and garden mistakes in American neighborhoods. It promotes bark rot, creates habitat for pests, and can girdle a tree over several years - killing it slowly. Always leave a clear, unmulched ring of several inches directly around any trunk or woody stem.
Troubleshooting Common Mulching Problems
Fall Mulching Protects Roots All Winter
Applying a fresh layer of mulch in late fall - after the ground starts to cool but before a hard freeze - insulates soil and moderates the freeze-thaw cycles that heave plant roots. This is especially valuable for recently planted perennials and shrubs in their first winter. Pull the mulch back slightly in early spring to let soil warm and encourage new growth.
Watch for Matting in Fine-Textured Mulches
Materials like grass clippings or very fine wood shavings can mat together into a dense layer that sheds water like a thatched roof, preventing rain from reaching plant roots at all. If you use fine mulch, rake it periodically to break up any crust that forms on the surface.
If you notice mulch staying soggy for days after rain, the layer may be too thick or the material too dense. Pull it back, let the soil dry slightly, and redistribute to a shallower depth. On the flip side, if you're watering frequently but soil still dries out quickly, check whether your mulch has thinned below one inch - a common mid-season issue that a quick top-dressing fixes in minutes.
Bark mulch that develops a grayish-white crust on the surface has likely developed a condition sometimes called "sour mulch" or a fungal mat. Break it up with a rake and turn the top layer. This is typically cosmetic and doesn't harm plants, but the crust can become water-repellent if left undisturbed. A mulch-related issue worth distinguishing from thatch: mulch sits on top of soil, while thatch is a layer of organic debris that accumulates within turf grass. For more on that, see our article on why lawn thatch builds up and when it becomes a problem.