

Key Takeaways
Why Weatherization Starts on the Inside
Most homeowners think of weatherization as an exterior job - caulking window frames, wrapping pipes, checking the roof. But the most significant sources of energy loss in a typical American home are hidden inside: gaps in the building envelope where conditioned air escapes and outside air infiltrates unchecked.
The building envelope is the boundary between your conditioned living space and the unconditioned outdoors. It includes the walls, floors, ceilings, windows, and doors. When that boundary leaks - whether at electrical outlets, plumbing penetrations, attic hatches, or behind baseboards - your heating and cooling system works harder to maintain comfort, and you pay for it.
Approaching weatherization from the inside out means addressing the envelope systematically: first finding leaks, then sealing them, then ensuring insulation levels are adequate. For related exterior steps, see Preparing Your Home's Exterior for Winter. Done in the right order, these tasks compound each other's effectiveness. Done out of order - insulating before sealing, for instance - they deliver far less value.
~25-30%
Heating and cooling energy lost through air leaks
According to the U.S. Department of Energy, air infiltration through gaps and cracks accounts for roughly a quarter to a third of home heating and cooling energy use.
15%
Average energy savings from air sealing and insulation
The EPA's ENERGY STAR program estimates that sealing air leaks and adding insulation can reduce total energy costs by around 15% on average.
40%
Heat loss attributable to windows and doors in older homes
Lawrence Berkeley National Laboratory research suggests windows and doors can account for up to 40% of heating energy loss in homes built before modern efficiency codes.
Finding Air Leaks Before You Seal Them
Before purchasing any materials, spend time locating where your home leaks. Many leaks are detectable without specialized equipment.
Low-Tech Detection Methods
- Hand test: On a cold, windy day, move your hand slowly around window and door frames, electrical outlets on exterior walls, and where walls meet the floor. Air movement is often palpable.
- Incense stick or smoke pencil: Hold near suspected gaps. Disturbed smoke indicates airflow.
- Flashlight test (at night): Have a helper shine a flashlight from outside along seams while you look for light penetration from inside.
Where Leaks Commonly Hide
- Attic hatch edges and pull-down stair frames
- Recessed light fixtures that penetrate the ceiling into the attic
- Plumbing and wiring penetrations through top and bottom wall plates
- Gaps behind knee walls in finished attics
- Fireplace dampers that don't seal fully
- Basement rim joists - the horizontal framing member where the floor system meets the foundation wall
Schedule an Energy Audit First
Many utility companies offer free or subsidized home energy audits using blower-door tests and thermal imaging to identify exactly where air and heat are escaping. This removes the guesswork and helps you prioritize the fixes that will have the greatest impact. Contact your utility provider to ask about available programs before purchasing materials.
Air Sealing: Materials and Where to Use Them
Not every gap calls for the same fix. Using the right material for each location makes the seal durable and effective.
| Location | Recommended Material |
|---|---|
| Window and door frames, exterior trim | Paintable latex caulk or silicone caulk |
| Attic penetrations (plumbing, wiring) | Fire-rated caulk or spray foam |
| Large gaps around pipes and ducts | Expanding spray foam (low-expansion for windows) |
| Rim joists in basement | Rigid foam board cut to fit, then caulked around edges |
| Recessed light fixtures in attic | Pre-made IC-rated covers sealed with caulk |
For recessed lights, it's important to use fixtures or covers rated for insulation contact (IC-rated) to avoid a fire hazard. Standard recessed cans should never be buried in insulation without an appropriate cover.
Run your hand slowly around electrical outlets on exterior walls on a cold, windy day - you'll often feel a surprising draft that confirms a hidden air leak worth sealing.
Outlet boxes on exterior walls frequently communicate directly with wall cavities that connect to the attic or crawlspace, making them a significant but easy-to-overlook pathway for cold air infiltration.
Seal the attic floor - not just the attic hatch - before blowing in any additional insulation. Insulation slows heat transfer but does almost nothing to stop air movement.
Air sealing and insulation are complementary but distinct tasks. Skipping attic-floor sealing means warm interior air can still funnel up through gaps, carrying moisture and heat with it regardless of insulation depth.
Insulation: What to Check and When to Upgrade
Once air sealing is complete, assess your insulation. The attic is typically the highest-priority area because heat naturally rises and exits through the ceiling plane.
Understanding R-Value
R-value is the measure of a material's resistance to heat flow - the higher the number, the greater the insulating power. Required R-values vary by climate zone; the U.S. Department of Energy publishes zone-specific recommendations. If you're unfamiliar with this or other renovation terms, the Home Improvement Terminology reference is a useful plain-English starting point.
To check your attic, measure the depth of existing insulation with a ruler and compare it against the DOE's recommended levels for your climate zone. Many older homes have 3-4 inches of insulation where current guidelines suggest 10-14 inches or more, depending on location.
Common insulation types include:
- Blown-in fiberglass or cellulose: Ideal for adding depth to existing attic insulation. Cellulose is made from recycled material and performs well in cold climates.
- Batts (fiberglass or mineral wool): Pre-cut panels suited for walls, floors, and crawlspaces where you have open cavities.
- Rigid foam board: Excellent for basement walls and rim joists; provides both insulation and a moisture barrier.
If you're uncertain what's already in your attic or whether it's performing as expected, Your Attic Insulation Isn't Doing What You Think It Is walks through the signs of underperforming insulation. And before making changes, review Attic Insulation and Ventilation: Two Systems That Work Together to understand how these systems interact.
Don't Seal Around Combustion Appliances
Gas furnaces, water heaters, and wood-burning fireplaces need adequate combustion air to operate safely. Sealing a home too tightly without addressing ventilation can create dangerous backdrafting conditions where exhaust gases, including carbon monoxide, are drawn back into living spaces. If your home has any fuel-burning appliances, consult an HVAC professional before undertaking aggressive air sealing.
Doors, Windows, and Draft-Proofing Details
Windows and doors deserve focused attention even after broader sealing work is complete. The most common problems are worn weatherstripping, missing door sweeps, and degraded glazing compound around older window panes.
Weatherstripping
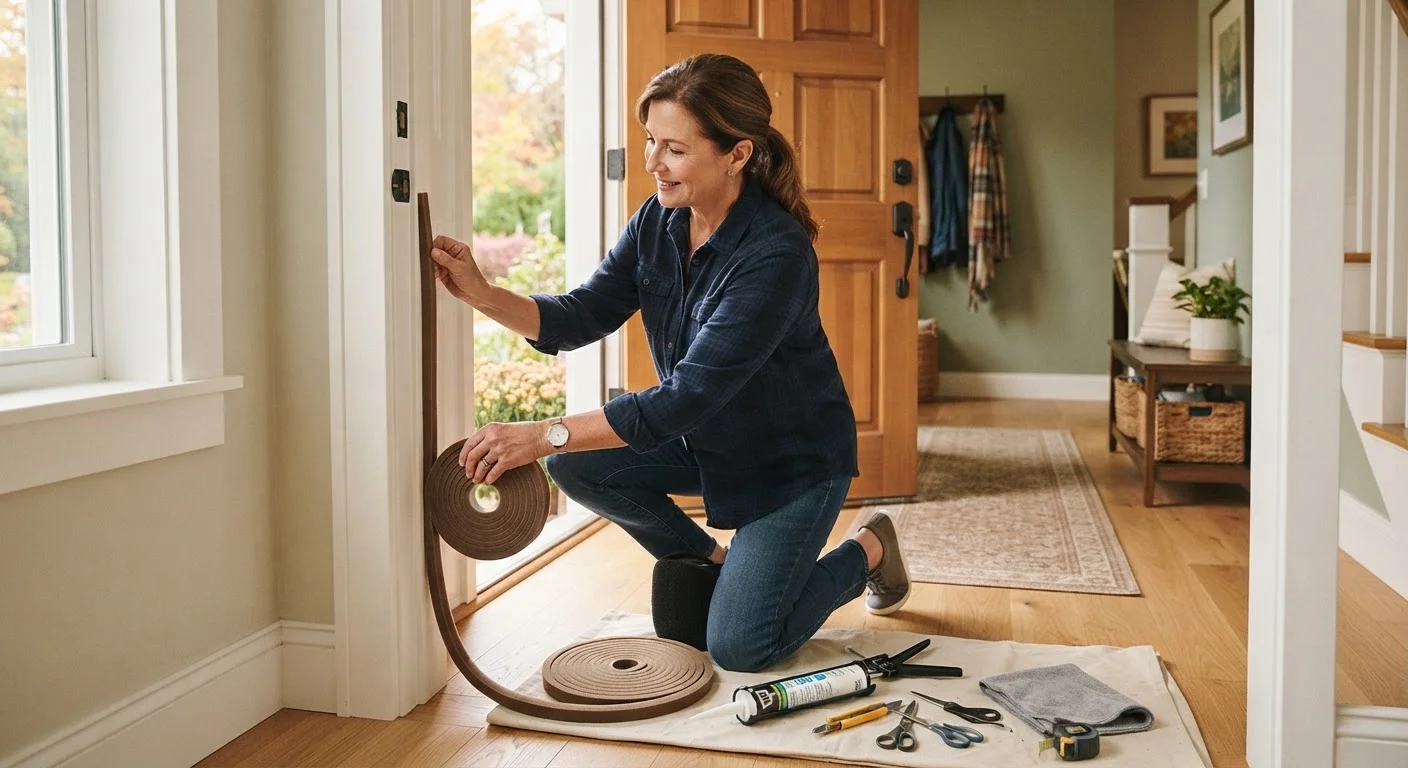
Weatherstripping compresses to form a seal when a door or window closes. Over time it hardens, tears, or compresses permanently. Check it by closing a door on a piece of paper - if you can pull the paper out without resistance, the seal has failed. Foam tape, V-strip (tension seal), and door-bottom sweeps are all widely available and straightforward to install without professional help.
Window Film and Interior Storm Kits
For single-pane windows, interior window insulation film kits (plastic film stretched across the frame and shrunk with a hair dryer) add a secondary air barrier and a layer of dead-air insulation. They're temporary but effective through a heating season.
Garage Doors
Attached garages are a commonly overlooked thermal weak point. Weatherstripping along the sides and top of the garage door, combined with a bottom seal, can meaningfully reduce cold air infiltration into an attached garage that shares a wall with living space.
Putting It All Together: A Practical Starting Order
Weatherization projects are most effective when completed in sequence. Here's the order that building science professionals generally recommend:
- Get a home energy audit if available - it provides a thermal map of your specific losses.
- Seal attic-floor penetrations (pipes, wires, attic hatch) before adding any insulation above.
- Address basement rim joists with rigid foam and caulk.
- Seal all interior air leak points identified during your walkthrough.
- Add attic insulation to the recommended depth for your climate zone.
- Replace or repair weatherstripping and door sweeps on all exterior doors.
- Caulk window and door frames where caulk is cracked, missing, or pulling away.
New homeowners in particular often discover that several of these items were never addressed by previous owners. The upkeep tasks new homeowners consistently overlook are worth reviewing alongside this guide.
Permits May Be Required for Insulation Work
Depending on your municipality, adding insulation - particularly in attics or crawlspaces - may require a building permit, especially if it involves disturbing existing materials. Some older homes also contain asbestos-containing insulation that must be handled by a licensed abatement contractor. Always verify local code requirements and test older insulation materials before disturbing them.
Weatherization is one of the most durable improvements you can make to a home. Unlike mechanical systems that wear out, a well-sealed and insulated building envelope continues to perform for decades with minimal maintenance. Starting systematically - from the inside out - is the clearest path to lasting results.
This article provides general home maintenance information for educational purposes only. Building codes, permit requirements, and recommended insulation levels vary by location. Consult qualified local professionals before undertaking significant weatherization work, particularly where combustion appliances, hazardous materials, or structural elements are involved.