

Real Estate

Moving In: What to Document Before You Unpack

Share
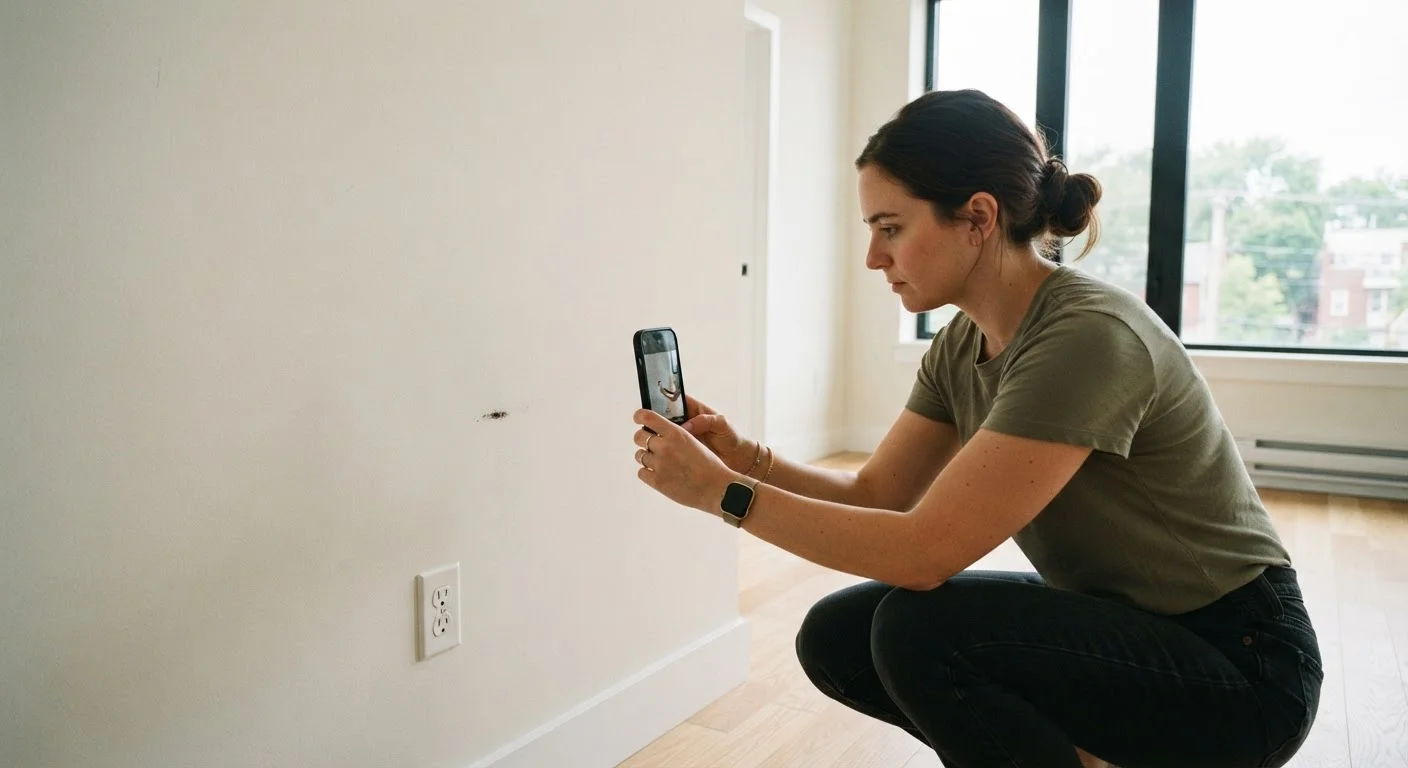
A renter using a smartphone to photograph wall damage in an empty apartment before moving in

Key Takeaways

Thorough move-in documentation is your strongest defense if a landlord disputes deposit deductions at move-out.
Photograph, video, and write down every defect — even minor ones — before placing any belongings in the unit.
Send your completed documentation to your landlord in writing and keep dated copies for yourself.
Most states require landlords to provide a move-in checklist; knowing your state's rules strengthens your position.
Pre-existing damage that is not documented can be charged against your security deposit at move-out.
45–90 min

Summary

28 items · 45–90 minutes

Why Move-In Documentation Matters

Your security deposit — typically one to two months' rent — is at stake the moment you get the keys. Landlords in most states are legally permitted to withhold portions of that deposit to cover damage beyond normal wear and tear (the gradual deterioration expected from ordinary use, such as minor scuffs or carpet compression). Any pre-existing damage that you fail to document before moving in can, in practice, be attributed to you at move-out.

A methodical move-in walkthrough creates a timestamped record that reflects the unit's true condition on day one. If a dispute arises later, that record — photographs, video, and a written checklist — gives you verifiable evidence. Without it, the word of a renter often carries less weight than a landlord's claim in small claims court or mediation.

For a broader picture of how deposits work and what landlords can legally deduct, see our guide on security deposit rules every renter should know. And if you are still navigating the rental process from the beginning, our ground-up guide to renting your first apartment covers everything from budgeting to signing a lease.

Don't Unpack Before You Document

Once furniture and boxes are in place, walls and floors become harder to inspect and photograph clearly. Complete your full walkthrough — photos, video, and written notes — before bringing in a single item. This is also the only point at which the unit's condition is unambiguously separate from your own occupancy.

What You Need Before You Start

Gather your tools before stepping into the unit. The walkthrough goes faster and more consistently when you are prepared.

Required

Smartphone with camera

Capture timestamped photos and video of every room and defect during the walkthrough.

Required

Flashlight or phone torch

Illuminate closets, under-sink cabinets, and other dim areas where damage is easy to miss.

Required

Written inspection checklist

Provides a room-by-room written record to complement your photos — use the checklist in this article or your landlord's form.

Required

Cloud storage account

Store a dated backup of all photos, videos, and checklist files in a location you control independently of your device.

Optional

Notepad or notes app

Jot down defect descriptions and locations in real time so nothing is forgotten before you compile your report.

Schedule your walkthrough before any furniture or boxes enter the unit. Good lighting is essential — open every blind and curtain, and use a flashlight for closets and cabinets. If your landlord provides a move-in inspection form, complete it alongside your own documentation rather than relying on it exclusively, as landlord-issued forms vary widely in detail.

Room-by-Room Checklist

Work through each room in order, photographing and noting every imperfection you find. Include a date-stamped reference in photos — most smartphones embed this automatically in the file metadata, but also photograph a piece of paper showing the move-in date alongside early shots for added certainty.

Entry & Common Areas

Photograph the front door, lock hardware, and any existing scratches or dents on the door frame. Must
Test all door locks and deadbolts to confirm they engage and disengage properly. Must
Note any damage to hallway walls, baseboards, or flooring at the unit entrance. Must
Check that the doorbell, intercom, or buzzer system functions if present. Should

Living Room & Bedrooms

Photograph all four walls in each room, capturing any scuffs, holes, stains, or peeling paint. Must
Inspect the ceiling for water stains, cracks, or evidence of mold and document with close-up photos. Must
Test every light switch, outlet, and ceiling fixture to confirm they work. Must
Examine flooring for scratches, stains, warping, or loose tiles and photograph each defect. Must
Open and close every window, noting broken locks, damaged screens, or cracked glass. Must
Check closet doors, shelving, and rods for damage or missing hardware. Should

Kitchen

Run each burner or heating element on the stove and test the oven to verify they function. Must
Photograph the interior of the refrigerator, noting any stains, missing shelves, or broken drawers. Must
Run the faucet and check under the sink for evidence of leaks, water damage, or mold. Must
Test the dishwasher, garbage disposal, and range hood fan if present. Should
Photograph all cabinet interiors, noting stains, pests, or broken hinges. Should

Bathrooms

Flush the toilet and confirm it fills properly without running continuously. Must
Run the shower and sink, checking water pressure and drain speed. Must
Inspect grout, caulk, and tile for cracks, mold, or missing sections and photograph each area. Must
Check under the sink cabinet for leaks, discoloration, or pest activity. Must
Note any damage to mirrors, towel bars, or toilet paper holders. Nice to have

Safety & Systems

Test smoke detectors and carbon monoxide detectors by pressing the test button on each unit. Must
Locate the main electrical panel and note any breakers labeled as tripped or missing. Must
Confirm the heating and cooling system operates — run it briefly at move-in temperature. Must
Identify the locations of the water shut-off valve and any fire extinguisher provided. Should

Final Documentation Steps

Record a continuous walkthrough video of every room, narrating visible defects as you go. Must
Complete your written checklist and sign it with today's date before sending it to your landlord. Must
Email your documentation to the landlord and save a timestamped copy in cloud storage. Must
Request written acknowledgment from the landlord that they have received your move-in report. Should

Once your walkthrough is complete, compile everything — photos, video files, and the written checklist — into a single dated email and send it to your landlord. Request a read receipt or confirmation reply. Save copies in a cloud storage folder you control, labeled with the property address and move-in date. This paper trail is what tenant rights protections across the U.S. are designed to support — but only when you have the evidence to back them up.

This article is for general informational purposes only and does not constitute legal advice. Renter-landlord laws vary by state and locality. Consult a qualified attorney or tenant advocacy organization for guidance specific to your situation.

Real Estate Editorial Team is the collective byline for our editorial team and contributor network. Articles published under this byline or an editorial pen name are researched, written, and reviewed according to our editorial standards for clarity, consistency, and independence before publication.

View all articles by Real Estate Editorial Team →
Disclaimer: The content on this site is for informational purposes only and is not a substitute for professional advice. Always consult a qualified professional for guidance specific to your situation.